Glowforge Aura Project: Offset Text in Adobe Illustrator
I decided that I wanted to make a part two this Glowforge Aura Project: Large Sign! To see this Glowforge Aura tutorial in action, watch my YouTube video below! 😊
As a follow-up to my previous video where I demonstrated how to create a "merry" sign, I thought, “Why not complete this Christmas sign!” So in this video, I walk you through the entire process step by step, from design to cut!
DESIGNING ADOBE ILLUSTRATOR
Starting in Adobe Illustrator, I hopped on my desktop to design the file. It's always important to create an appropriately sized design for your Glowforge Aura, which has a 12x12-inch bed. I used Illustrator to design and create what I like to call the "bubble text." This technique gives a nice 3D, offset effect to letters.
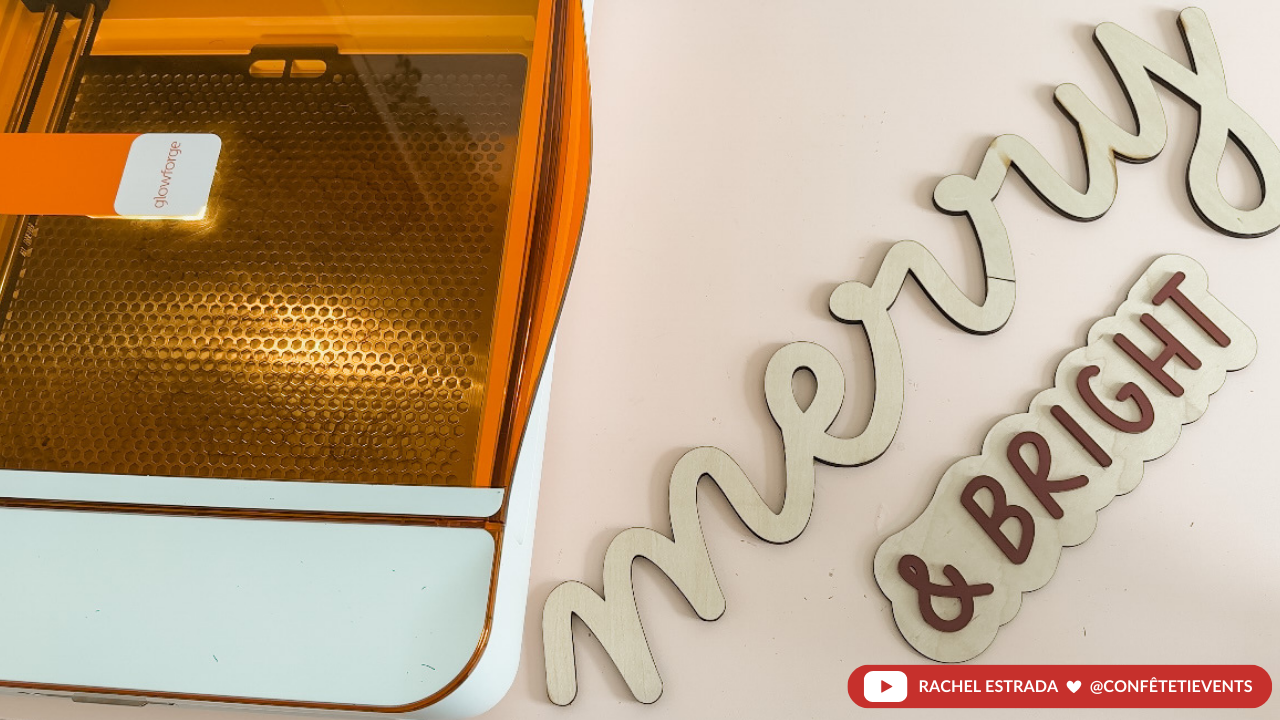
CUTTING WITH THE GLOWFORGE AURA
Once the design was complete, it was time to upload the SVG file to the Glowforge app and start the cutting! I simp;y layered maroon acrylic on top of maple plywood, which gave a really pretty end result!
⚡️ TRY ADOBE ILLUSTRATOR 7 DAYS FREE
MATERIALS USED
Glowforge Proofgrade Light Maple Plywood
Basswood Plywood
Maroon Acryilc
Black Acrylic
Super glue
FONT USED
Charming Lines Font Duo
PURCHASE THE AURA HERE
Amazon - Glowforge Aura
Joann - Glowforge Aura
Michael’s - Glowforge Aura
💰 Get $500 Glowforge Pro or $250 Glowforge Plus with this link HERE.


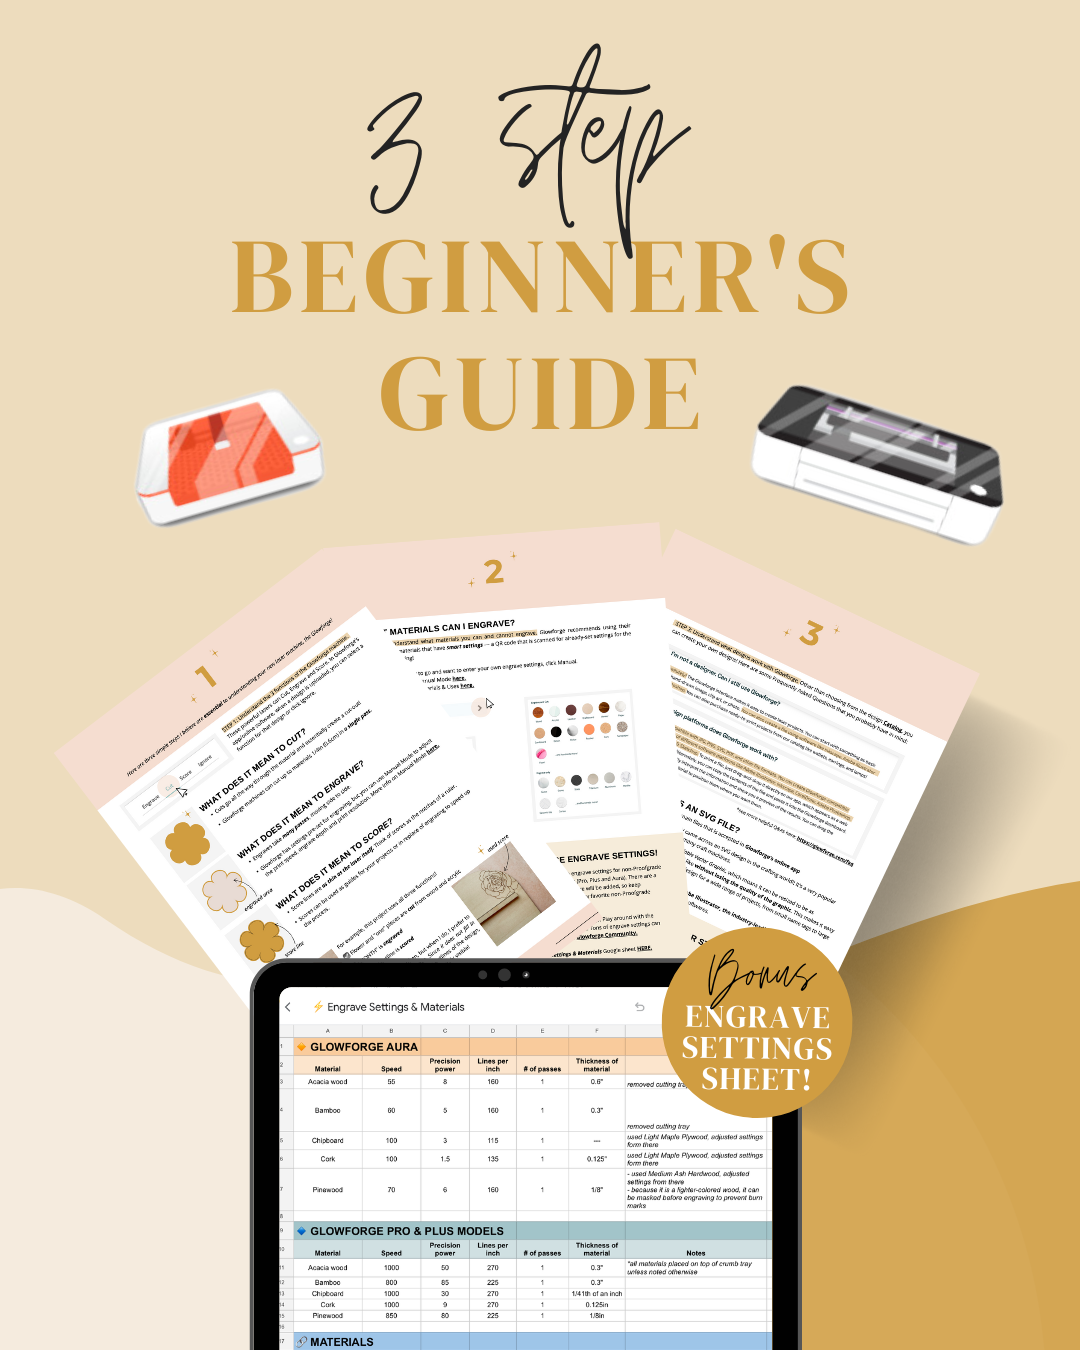
➡️ Want these settings all in one place? Download my BEGINNER’S GUIDE & ENGRAVE SETTINGS SHEET below! ✨
Remember, these settings are starting points. Depending on the specific characteristics of your material and the desired outcome, you may need to fine-tune the settings slightly. Try engraving on a scrap piece or small portion of the same material to ensure the desired effect before moving on to your final project!